

One of the very first posts on this blog was about the first workbench I built (here). In the ensuing ten (!) years, I’ve used that bench for electronics, general fabrication, and woodworking. And I still think it’s a great first workbench– it’s cheap and fast to make, and served me well on dozens of projects.
But, as I’ve gotten more skilled at woodworking, I’ve found myself wishing I had better workholding capabilities for that craft. The design I came up with for my first bench precluded the use of holdfasts and limited the options available for vises– the shopbuilt one I made worked as well as an inexpensive starter vise, but never as well as a high-quality, vise purpose-built for woodworking.
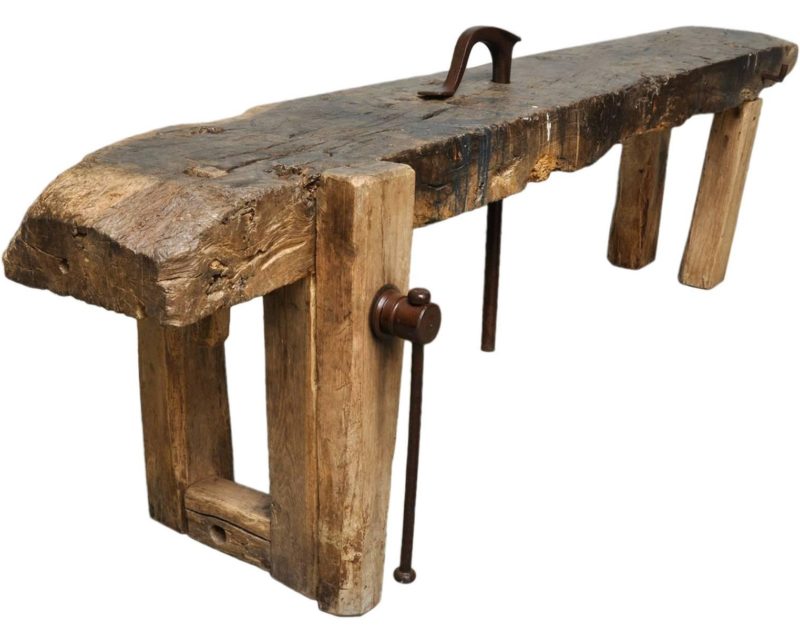
There are a lot of how-tos and example designs out there for workbenches, so much so that it can be difficult to settle on a design. People get pretty elaborate for with them, using exotic woods and multiple vises. For me, I wanted great functionality, but wasn’t looking to make this more fancier than it needed to be. So I spent some time looking at 19th century workbenches (for example, the ones that sell for thousands of dollars on 1stdibs and the like). A few takeaways from that process:
- The wood used seems like whatever would have been easy to work with and locally available. So you see beech, elm, pine, etc rather than maple, ash, hickory.
- The workholding solutions tend to favor simplicity. Some of the benches that exhibit an enormous amount of wear just have a leg vise and some holes for a holdfast.
With that in mind, I went with construction-grade California Redwood. Yellow pine was slightly cheaper, but at the time I was living in the one place in the world where California Redwood is the cheap local wood, and I think it has a beautiful grain.
The Base
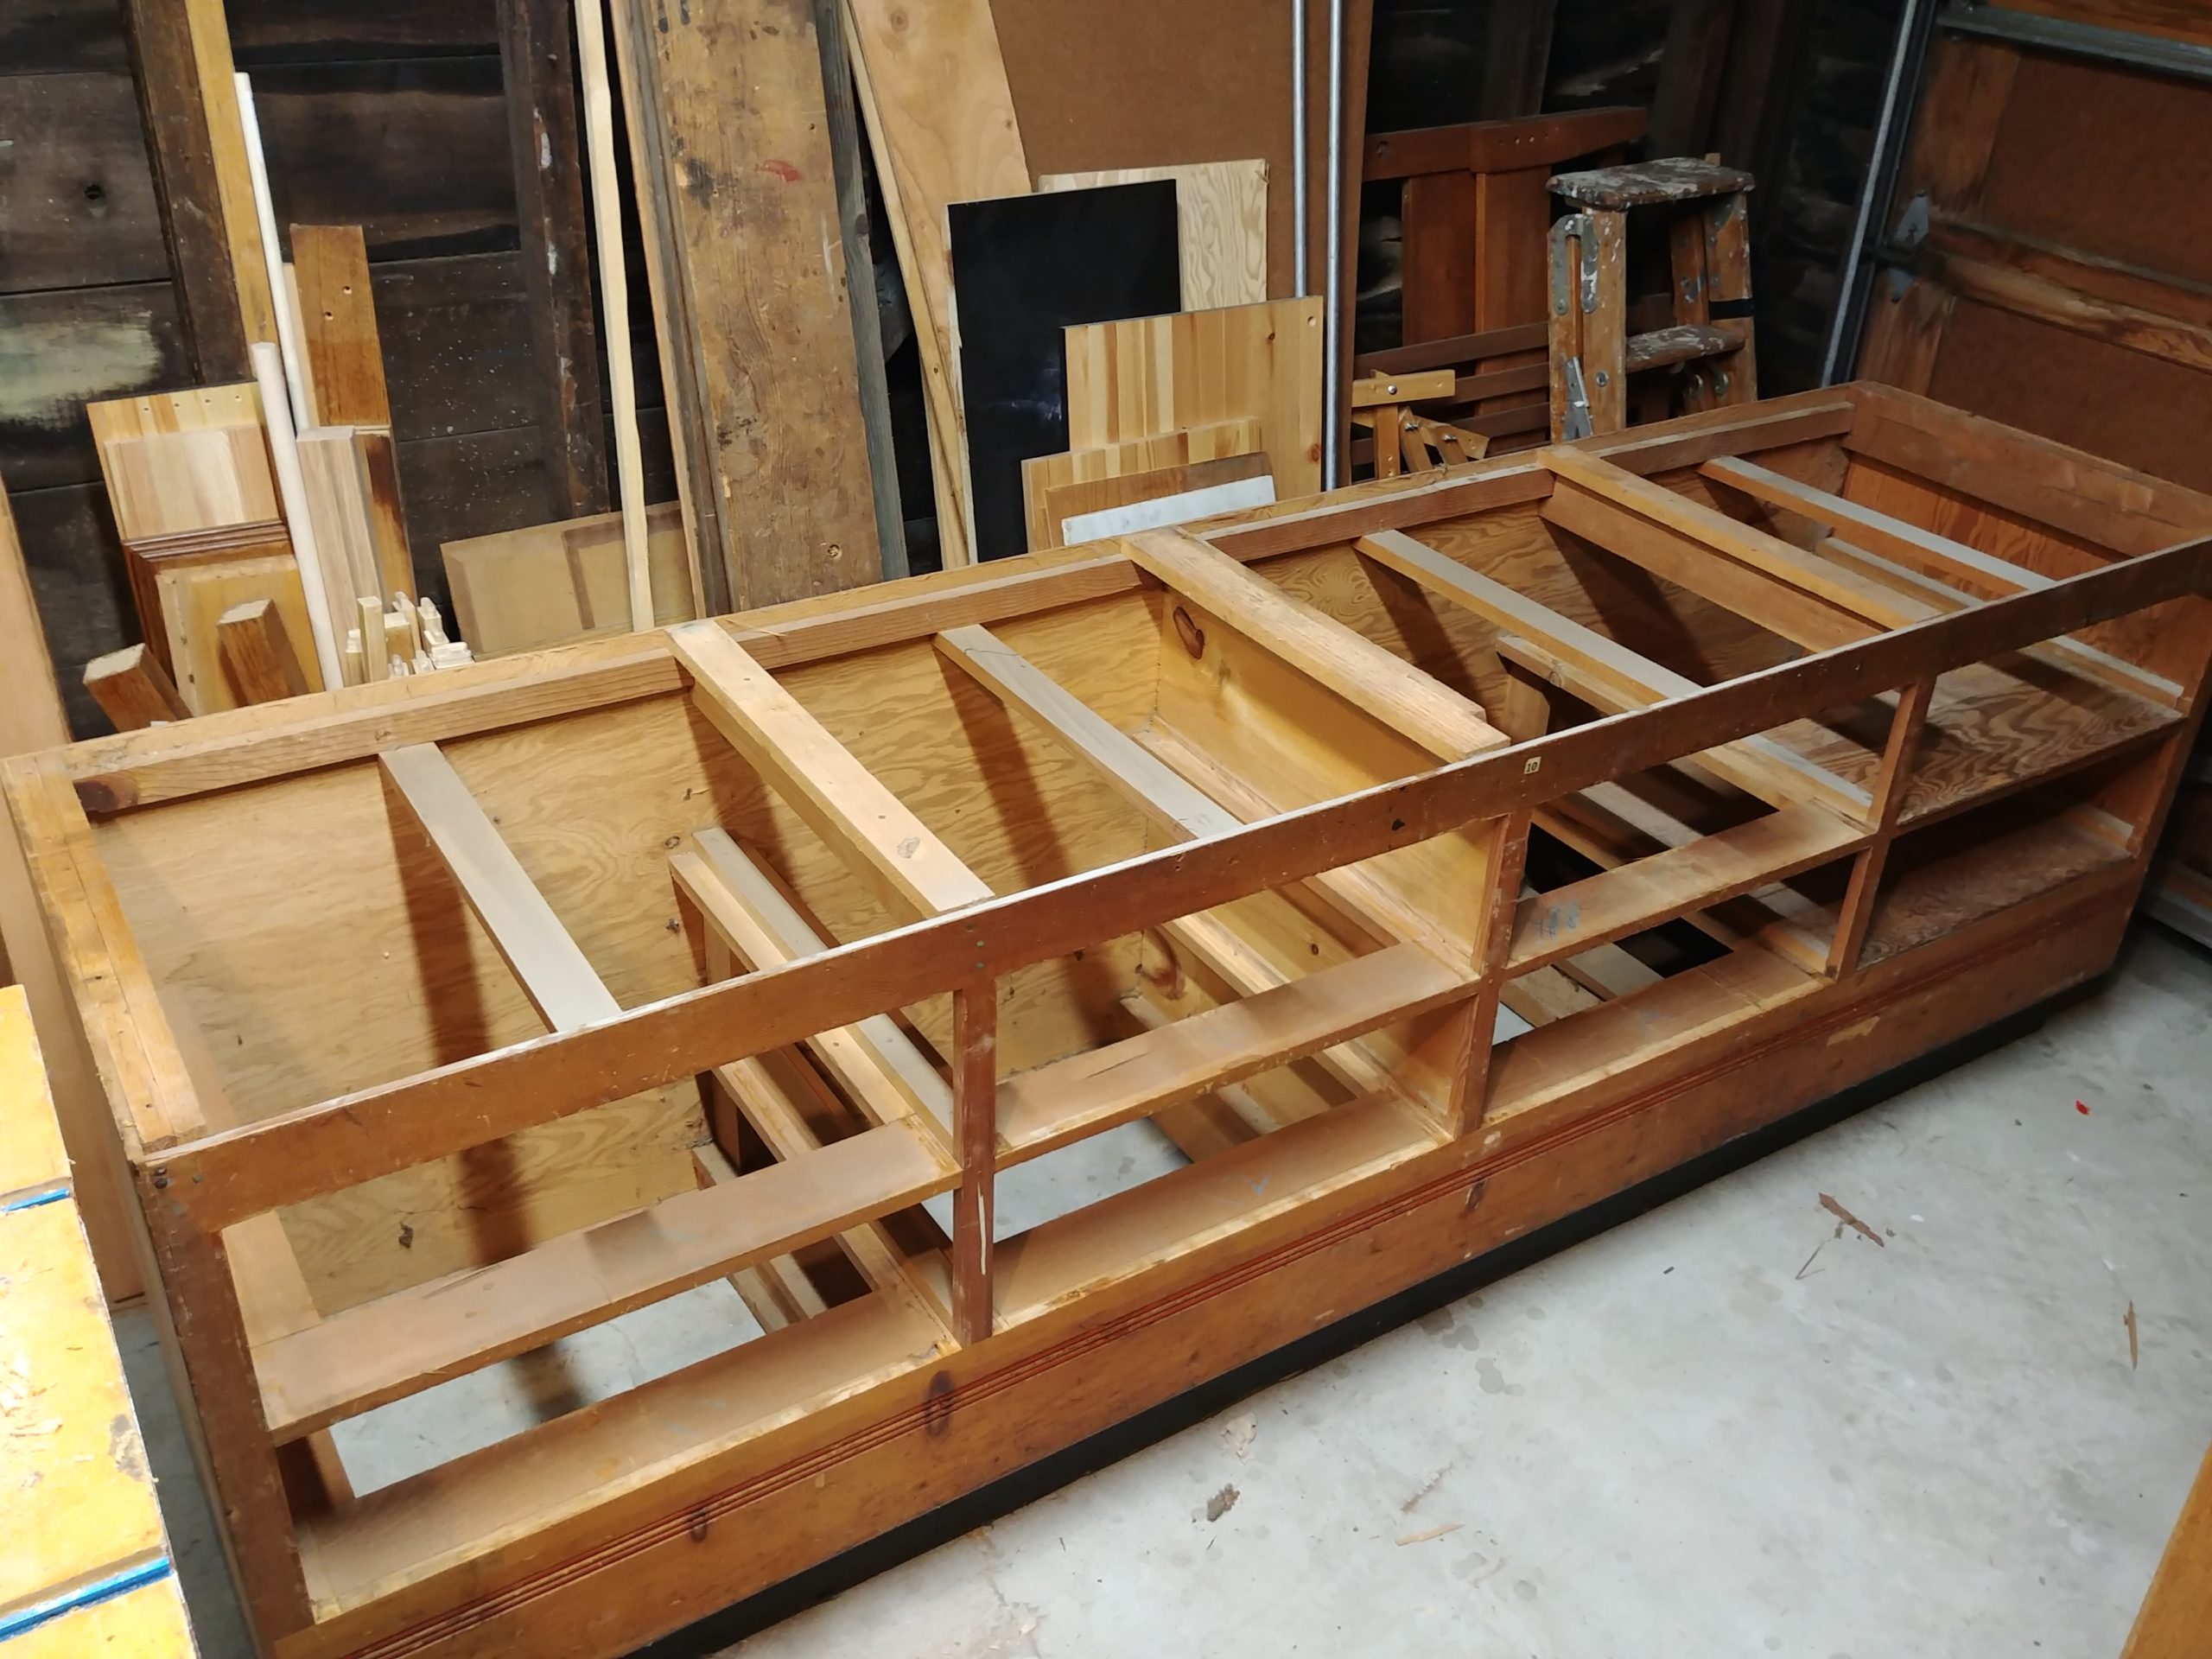
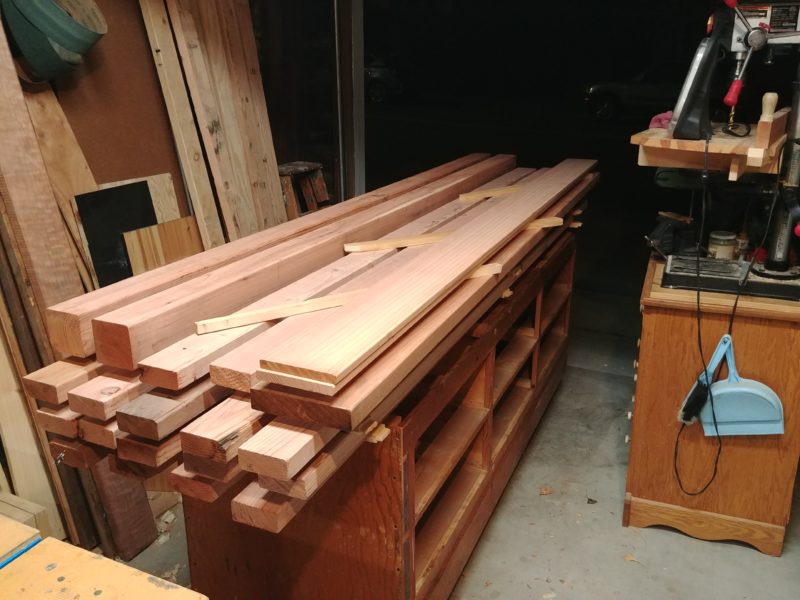
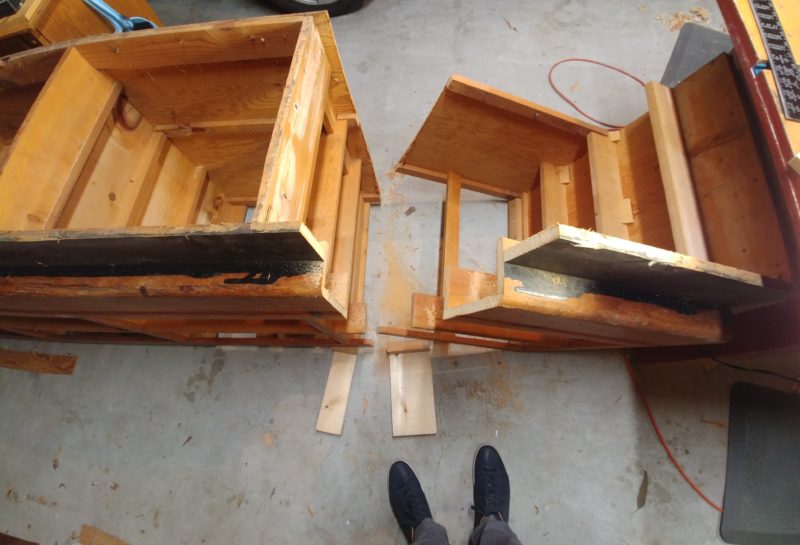
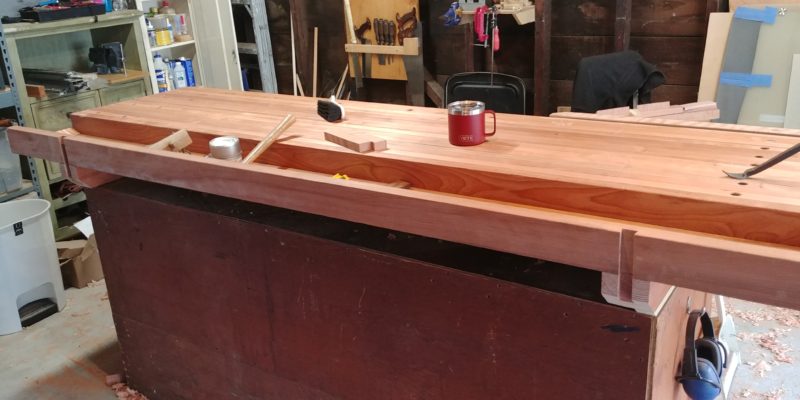
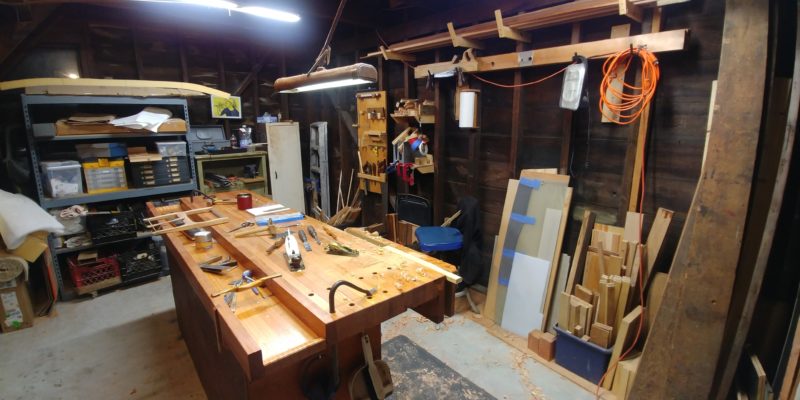
For the base, I wanted storage, but didn’t want to spend a lot of time building drawers. So I picked up this counter for free on craigslist (it has drawers, they’re just removed in this photo). I spent a bit of time reinforcing it but it was pretty sturdy to begin with. I wanted the bench to be 8′ long but the base to be only 6′ so that the ends would overhang it somewhat at the ends, so I had to do some surgery on it. Even after I had checked and re-checked, I kept sawing into nails, which was annoying.
After that it was time to laminate the top. I used construction-grade lumber but sorted through the bin carefully to find pieces with good grain density and one clear face without knots.
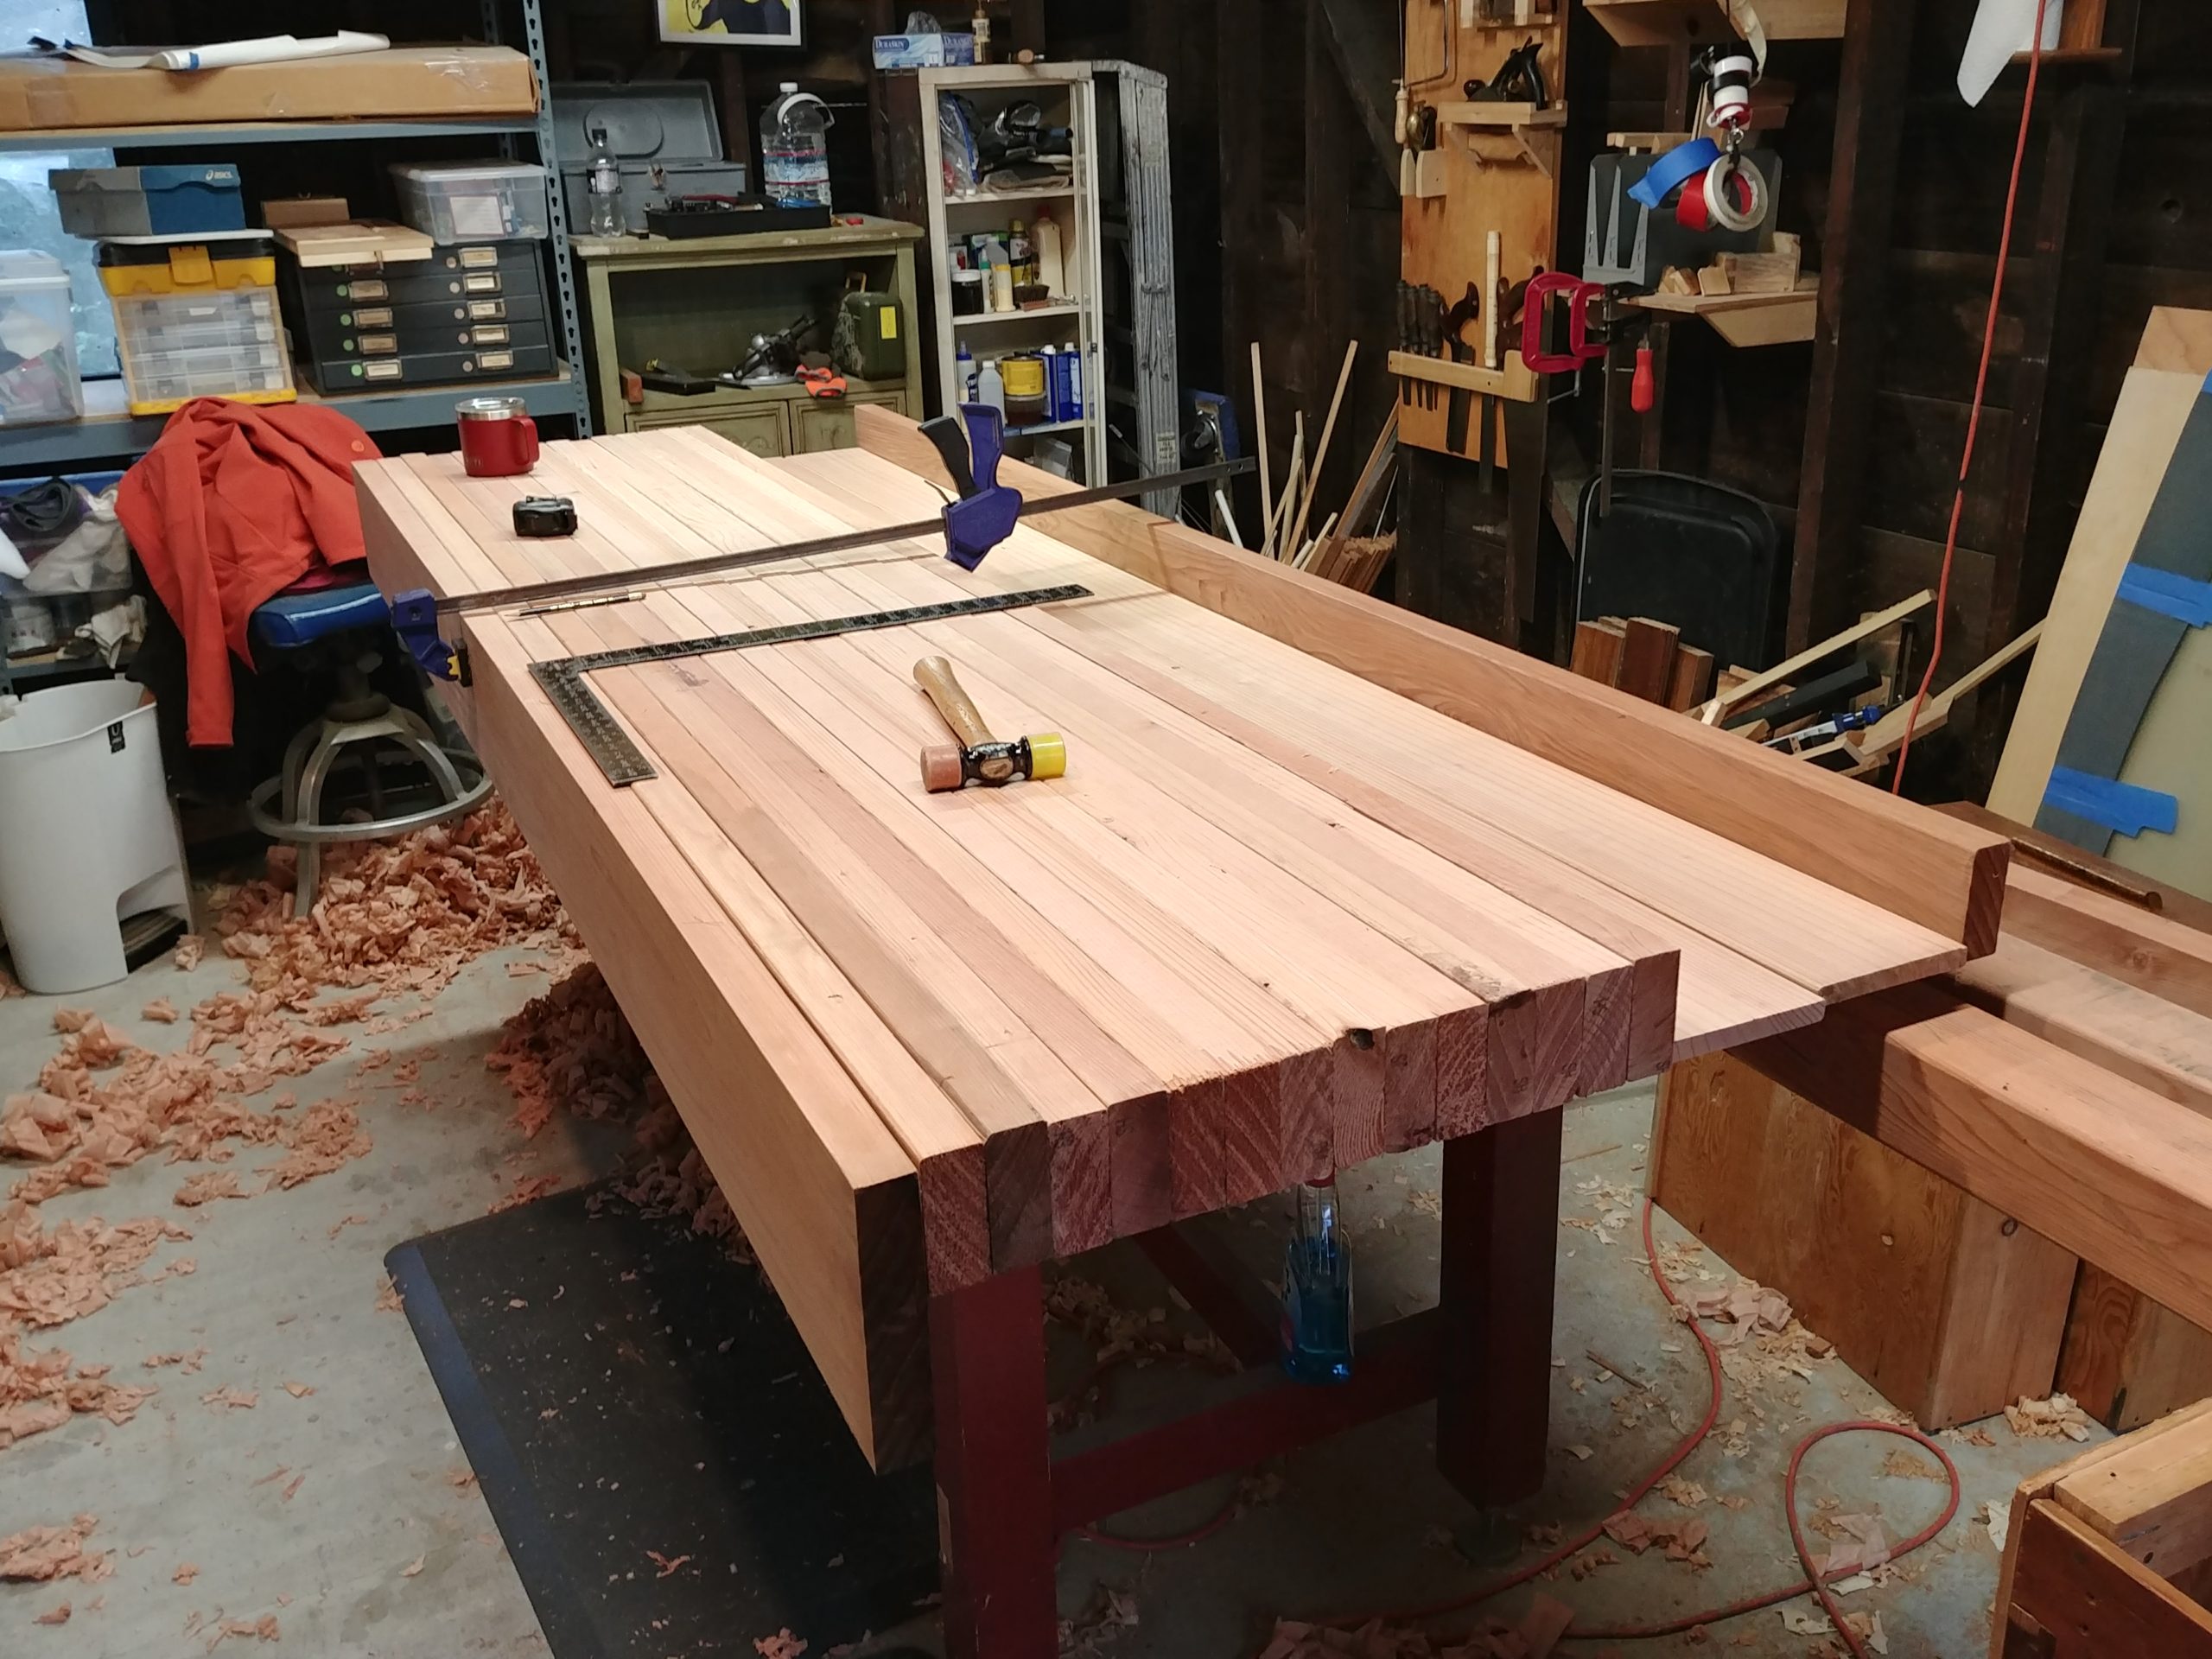
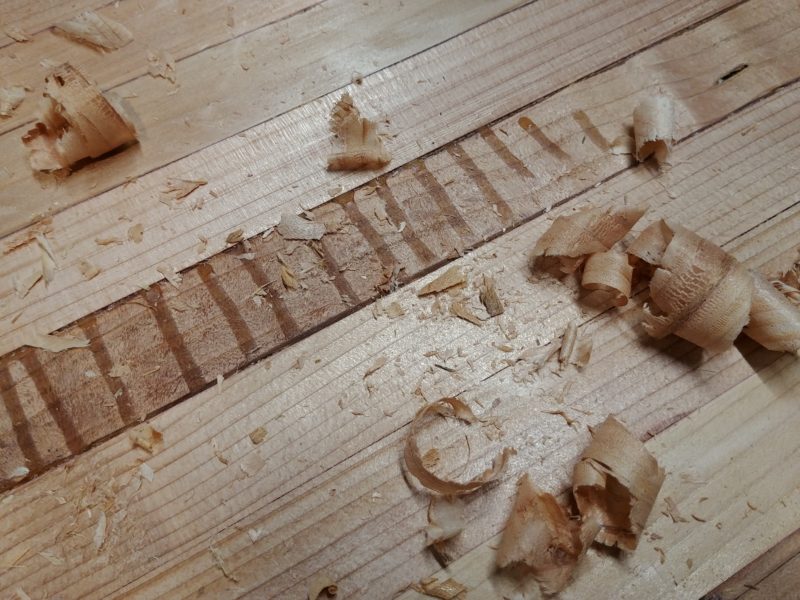
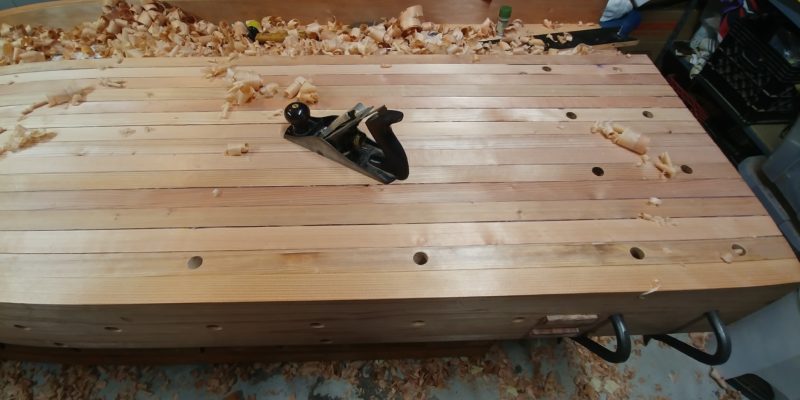
The glue-up went without incident, although I had to do the top in two halves since I didn’t have enough long clamps. Then it was time to flatten the top, I used the wooden jointer plane I wrote about in an earlier post (here), and the winding sticks I wrote about in an even earlier post (here).
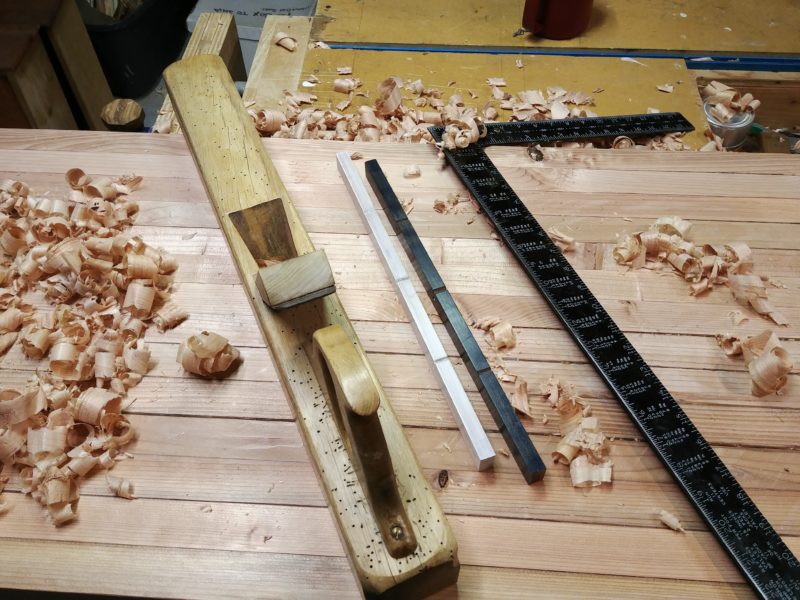
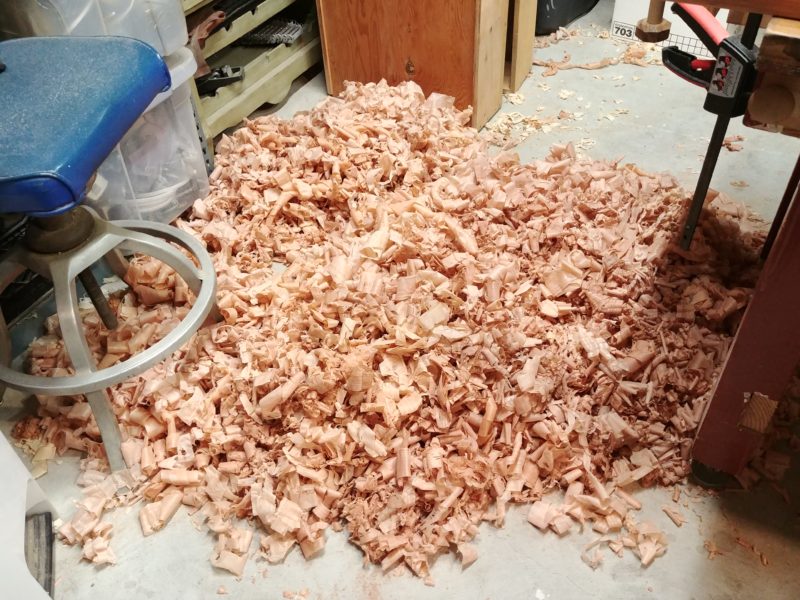
The jointer plane is not a refined tool and it worked great for this; the length of the plane made it dead simple to get the top flat, and weight made it easy to swing back and forth and take off large amounts of material quickly. It made an impressive amount of shavings.
At this point I put the apron on and did the joinery to have pass-through tenons. For the support behind the vise I had a blind tenon as that way as the wood dries and shrinks it won’t protrude. They’re attached to the base with bolts through elliptical holes, giving the top some room to shrink without splitting.
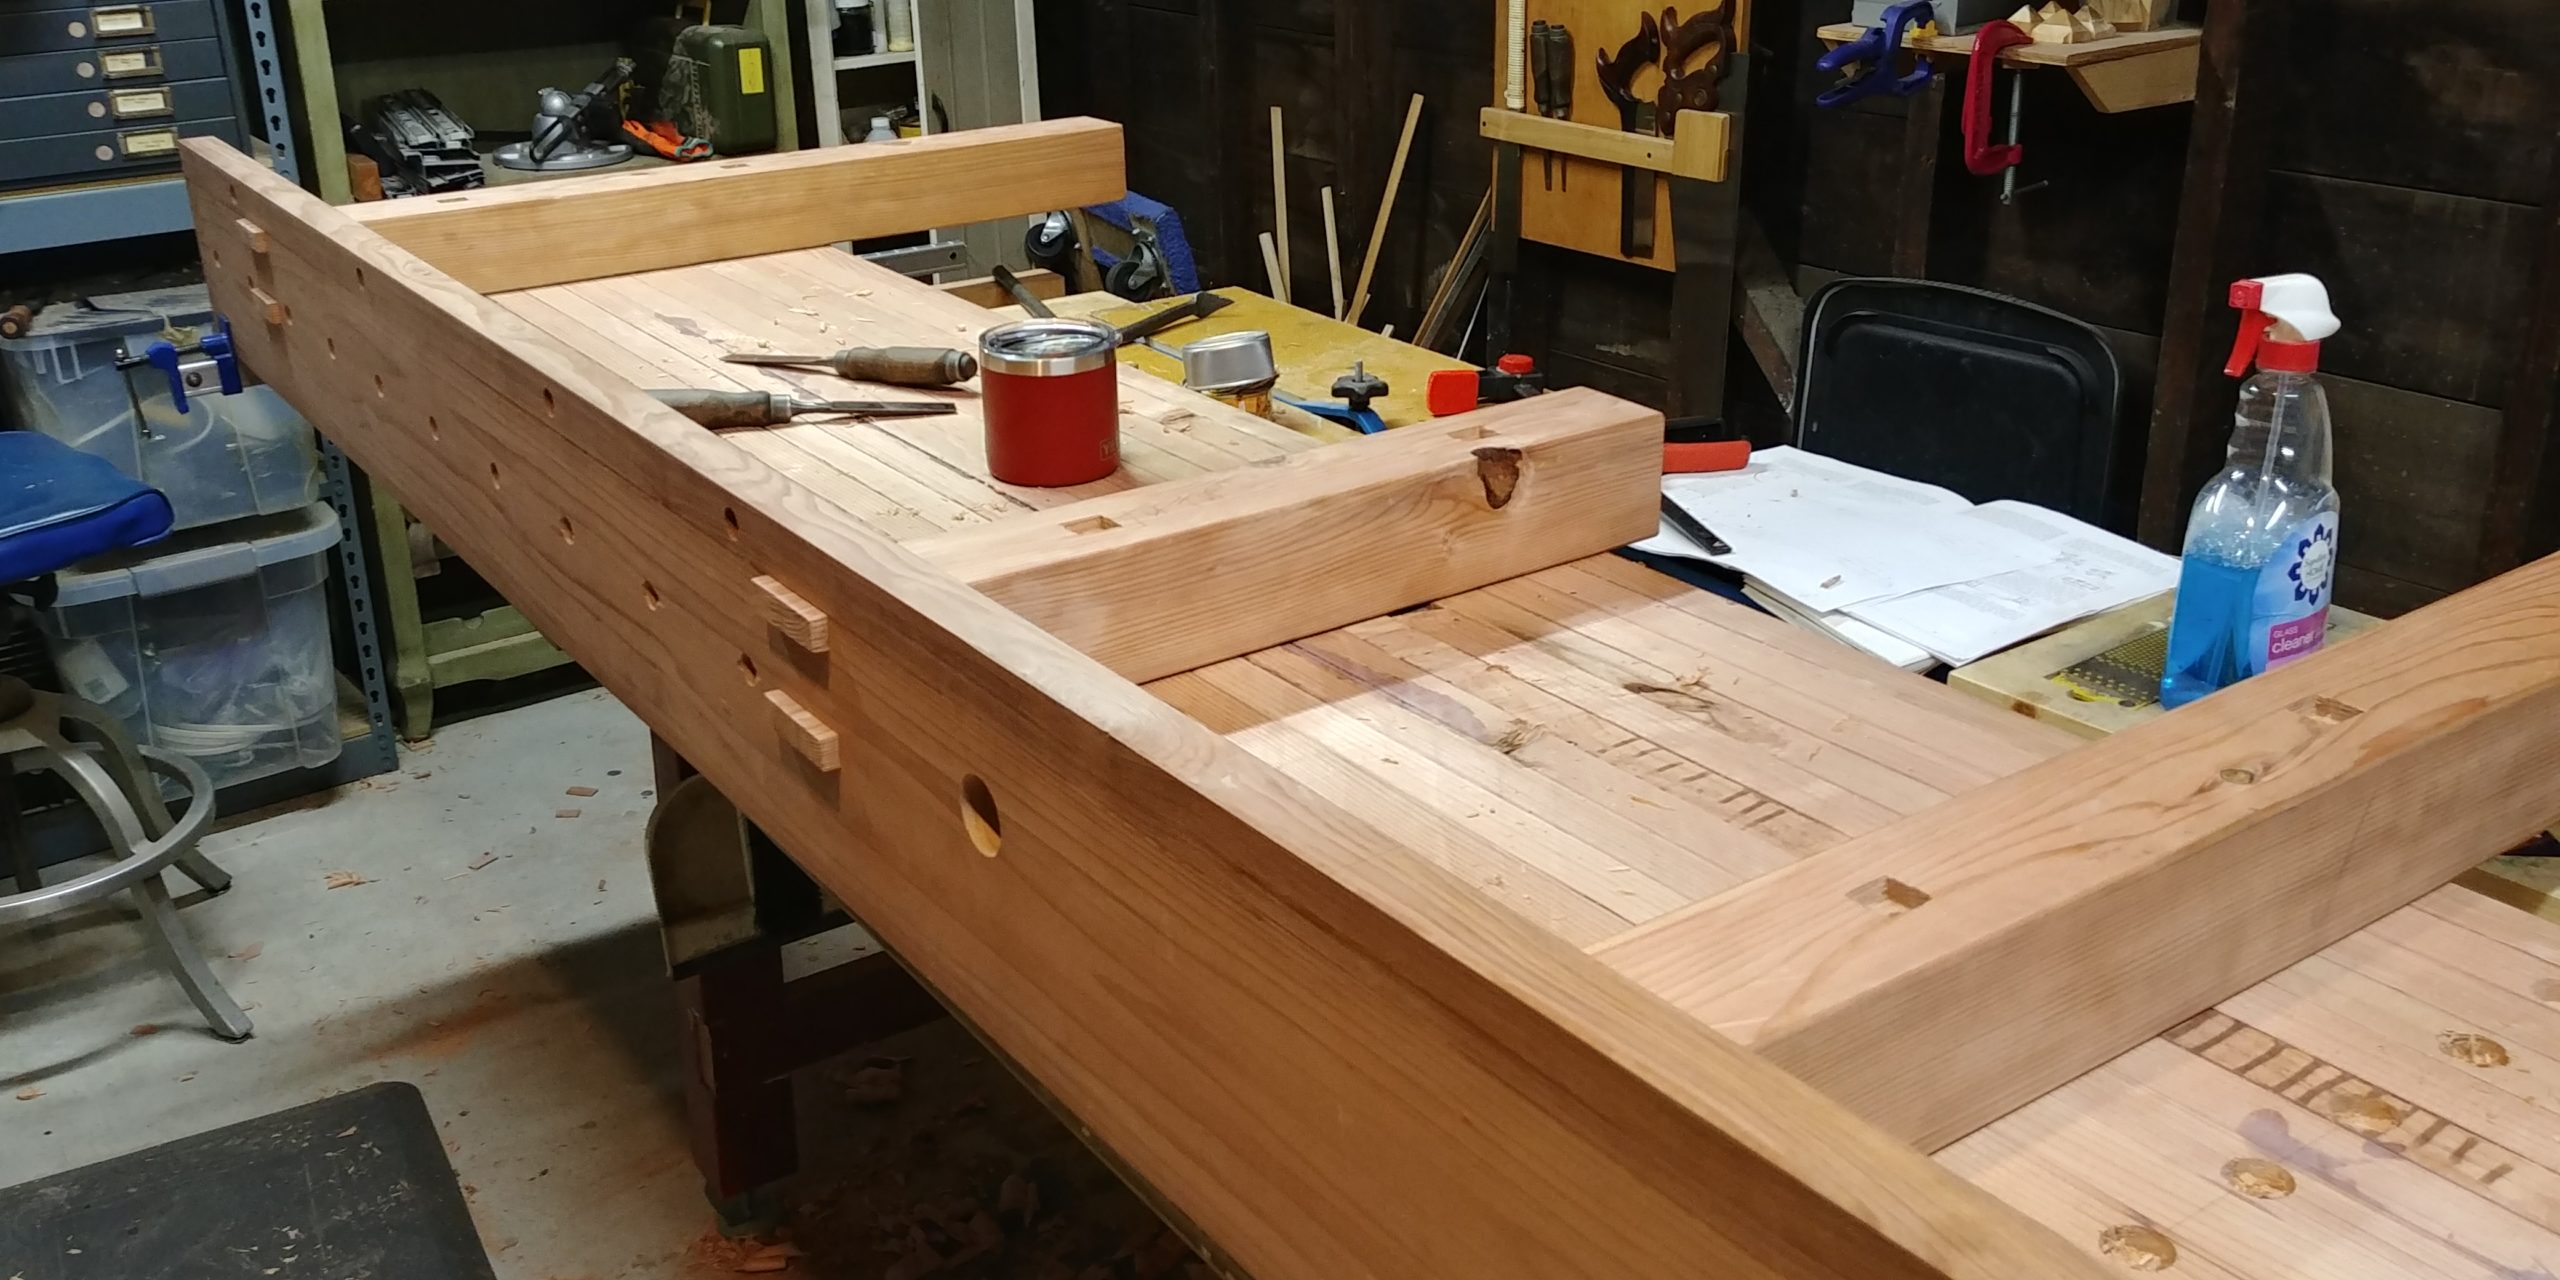
The idea here is that the top and the base are structurally independent of each other, they can be detached for moving or if I decide I do want to build a custom base at some point.

The Vise
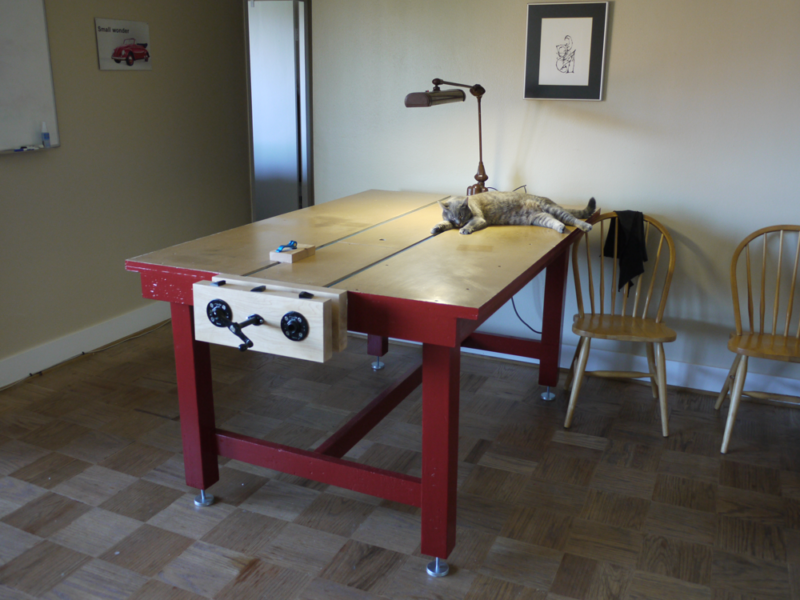
At this point I turned my attention to the vise, which is the twin screw vise from Veritas tools. I had to do a lot of pre-planning to accommodate all the holes for bench dogs, screws, supports, and other hardware, and I did all the cutouts on the apron before mounting it to the top.

The holdfasts are from Black Bear Forge, and I highly recommend them, they hold securely and release easily. This is a huge upgrade from my prior bench which did not allow for the use of holdfasts.
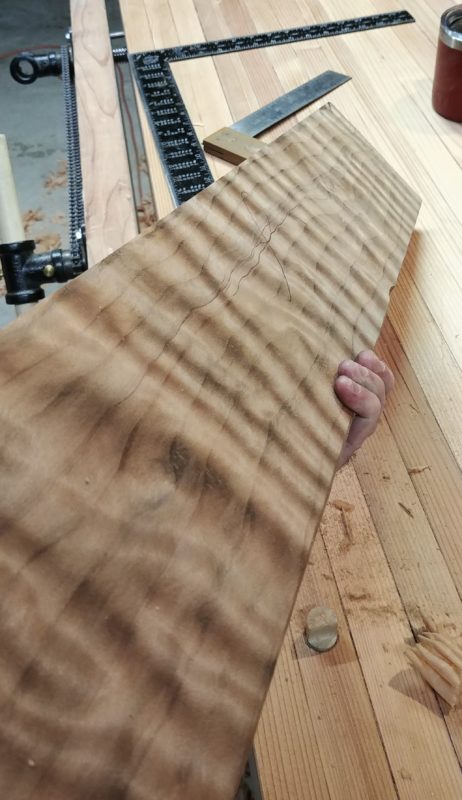
While digging through all the lumber, I found this piece of burled redwood. I don’t know what would cause the tree to grow like this, disease? But I decided to use it for the vise chop and assorted other bits of trim. The end result came out really nicely:
I also used it for other piece of trim, for example the wedges at the ends of the well board to keep things from rolling out onto the floor:
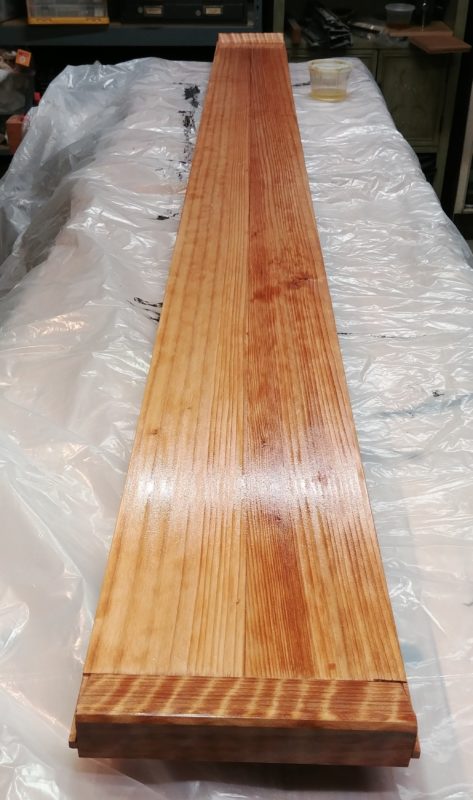
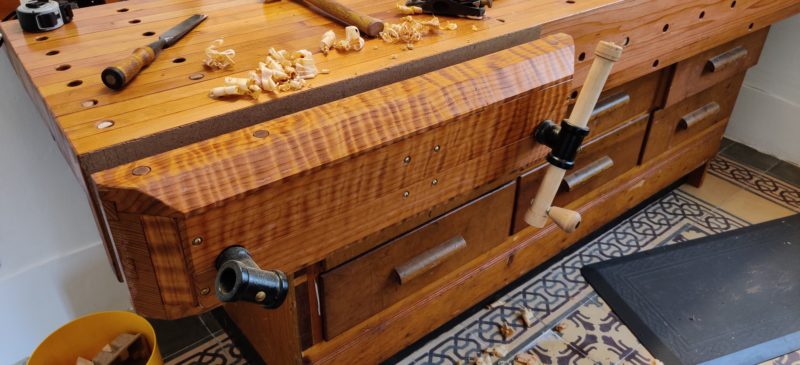
Once I had the vise mounted and aligned, I could finally flatten out the top (thus ensuring that the top of the vise and the top of the bench are flush with one another). Redwood is prone to tearout so you need to have a really sharp plane and take shallow passes, but the reward is a grain with a lot of opalescence that seems to flow and swirl as it catches the light.
I attached the vertical board behind the well with a dovetail dado joint. Which was fussy to execute but came out well, the back board is very sturdy and doesn’t wobble. The well board isn’t glued in, it’s just a dry-fit captive dado, giving the bench room to shrink/move relative to the supports.
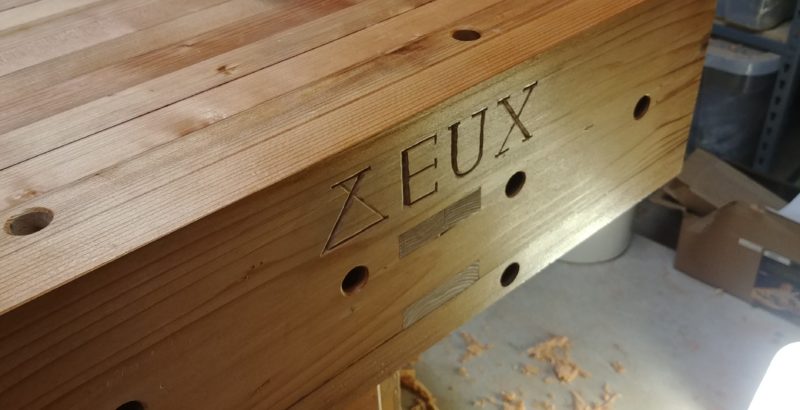
Since this is the second workbench that I’ve built, I gave it the model number Deux and carved that into the apron board.
I have a few tips and suggestions for mounting the Veritas Twin-Screw vise, which I’ll record a video for at some point.
I found this to be a very rewarding process. I have enough skill to move through each part pretty quickly, so I didn’t get bogged down. I’m glad I built my first bench cheap, it gave me a lot of input as to what I wanted for height, workholding, etc. The bench performs beautifully, I’m able to quickly lock something down and work on it. All told I think I spent around $750, and it took me 3-6 months working nights and weekends as available.
Thank you for reading, if you have any questions feel free to leave them in the comments!